Refinishing a Thrift-Store Table: Lessons From My First Real Project
How to refinish a thrift store table: sanding, staining, and the humility of a first project. What to buy, what to skip, and the mistakes to avoid.

Julia Reyes
May 7, 2026 · 6 min · Fall
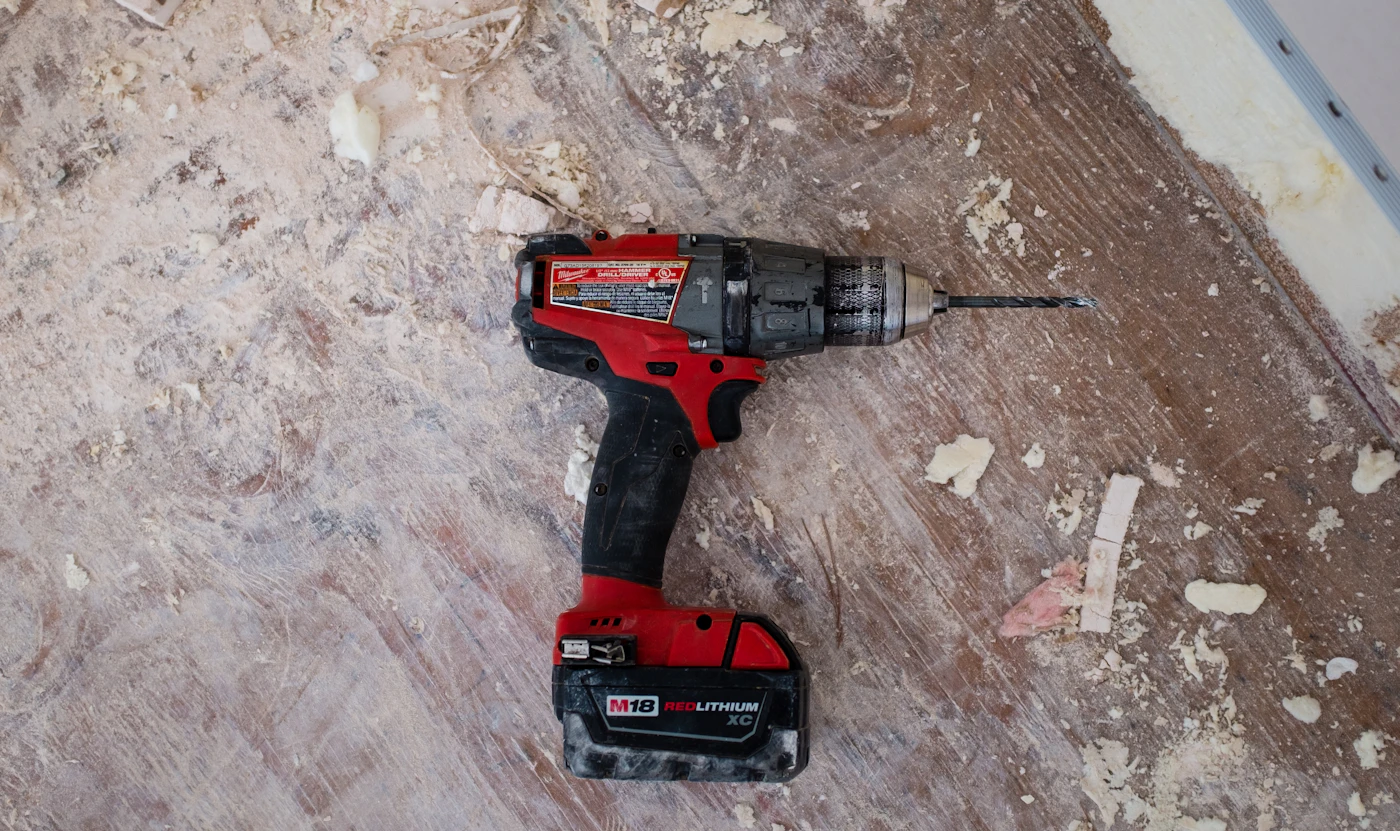
The table cost forty dollars at a church thrift sale. It was solid oak underneath three layers of brown paint that had been applied by someone who did not believe in sanding between coats. Nine months later it sits in my dining room, and it is my favorite piece of furniture in the house, mostly because of the two mistakes I made on it. Here is how to refinish a thrift store table the honest way, mistakes included.
Pick the right first project
The right first refinishing project is a table, a chest, or a nightstand that meets three tests. It is solid wood, not veneer. It has a flat top, because curves are where sanding goes wrong. And it is cheap enough that failure is a lesson, not a loss.
Veneer is the trap. A veneered piece has a thin layer of real wood glued over plywood, and sanding through it exposes the plywood pattern underneath, which cannot be fixed. Test with a magnet on the underside drawer rails: if it is not attracted, you are probably holding solid wood.
The honest materials list
You do not need a shop. You need five things:
- A palm sander with 80, 120, and 220 grit discs. The 80 grit is for stripping paint, and it will surprise you with how fast it works.
- A good mask. Paint dust is not something to breathe for fun. A simple N95 is fine.
- Mineral spirits and rags for cleaning the stripped surface.
- Wood stain in a color you like, and a lint-free cloth to apply it.
- A wipe-on polyurethane for the finish. Wipe-on is more forgiving than brush-on and nearly impossible to streak.
The order of operations
Strip with the 80 grit, moving with the grain, until the wood is bare. This is the slow hour. Do not rush it with lower grit or you will leave gouges that show up later like scars.
Switch to 120, then 220, until the surface feels like a smooth plastic to your bare hand. Clean the dust off with mineral spirits and let it dry completely. This step is where patience pays.
Stain in a thin coat, wipe with the grain, and let it sit for five minutes before wiping off the excess. Darker is not better. You can always add a second coat; you cannot easily remove the first.
Finish with three thin coats of wipe-on poly, sanding lightly with 320 between coats, waiting the time the can says. The finish is what makes it look expensive, and thin coats are the whole secret.
The first project is not about the table. It is about learning that the process is slower than you think and more rewarding than you feared.
My two mistakes, so you can make different ones
I sanded cross-grain to hurry. The swirls appeared the moment I stained. I had to sand back to bare wood and start the finish over. The fix was simple: always move with the grain, even when it feels slow.
I skipped the test patch. I stained the whole top before testing the color on the underside of a drawer rail. The color was lighter than the can promised, and I spent a week deciding whether to live with it. I kept it. Test patches cost five minutes and save weeks.
The honest timeline
Budget one full afternoon for stripping, one evening for staining, and two evenings across a week for finishing. The project does not take forty hours. It takes forty hours spread across a week, which is a different thing and a more realistic one.
A solid, refinished piece will outlast anything from a big-box furniture store at three times the price. That is the real return on the project: not a table, but a room full of furniture that you can fix, because now you know how.
If you find a vintage piece that only has cloudy white cup rings rather than ruined paint, our guide on how to remove water rings from wood furniture can save you from stripping the whole piece. And for more high-impact weekend DIYs, see our front door curb appeal upgrades and reversible renter-friendly upgrades.
Affiliate disclosure: this article contains affiliate links. If you buy through one, RootNook earns a small commission at no extra cost to you. See thefull disclosure.